
I am continuing to enjoy working in Topaz Studio, and now that I am getting more comfortable with the interface, I am starting to notice some differences that may affect how I use the program for future images.
First off, I have noticed that there can be a dramatic difference in how Topaz renders the raw file prior to having any processing done, and it seems to be very dependant on which camera I was using. This lion image was shot with my old Nikon D610 (which I traded in late last year for a Fuji XT-2).


As you can see, with this image there are fairly dramatic differences in the colour rendering, the amount of contrast and detail in the image, and how bright the image is. The raw file appears to have a significant magenta cast in the Topaz file, compared to a more neutral tone in the On1 raw file. I have been finding colour correction a bit tricky with Topaz so far. I think of all the tools I have available to me, Luminar does the best job at correcting colour and especially removing colour casts.
But, even though I started from a different spot editing the raw file in Topaz than I would have from On1, I am happy with the results I was able to get with the image.

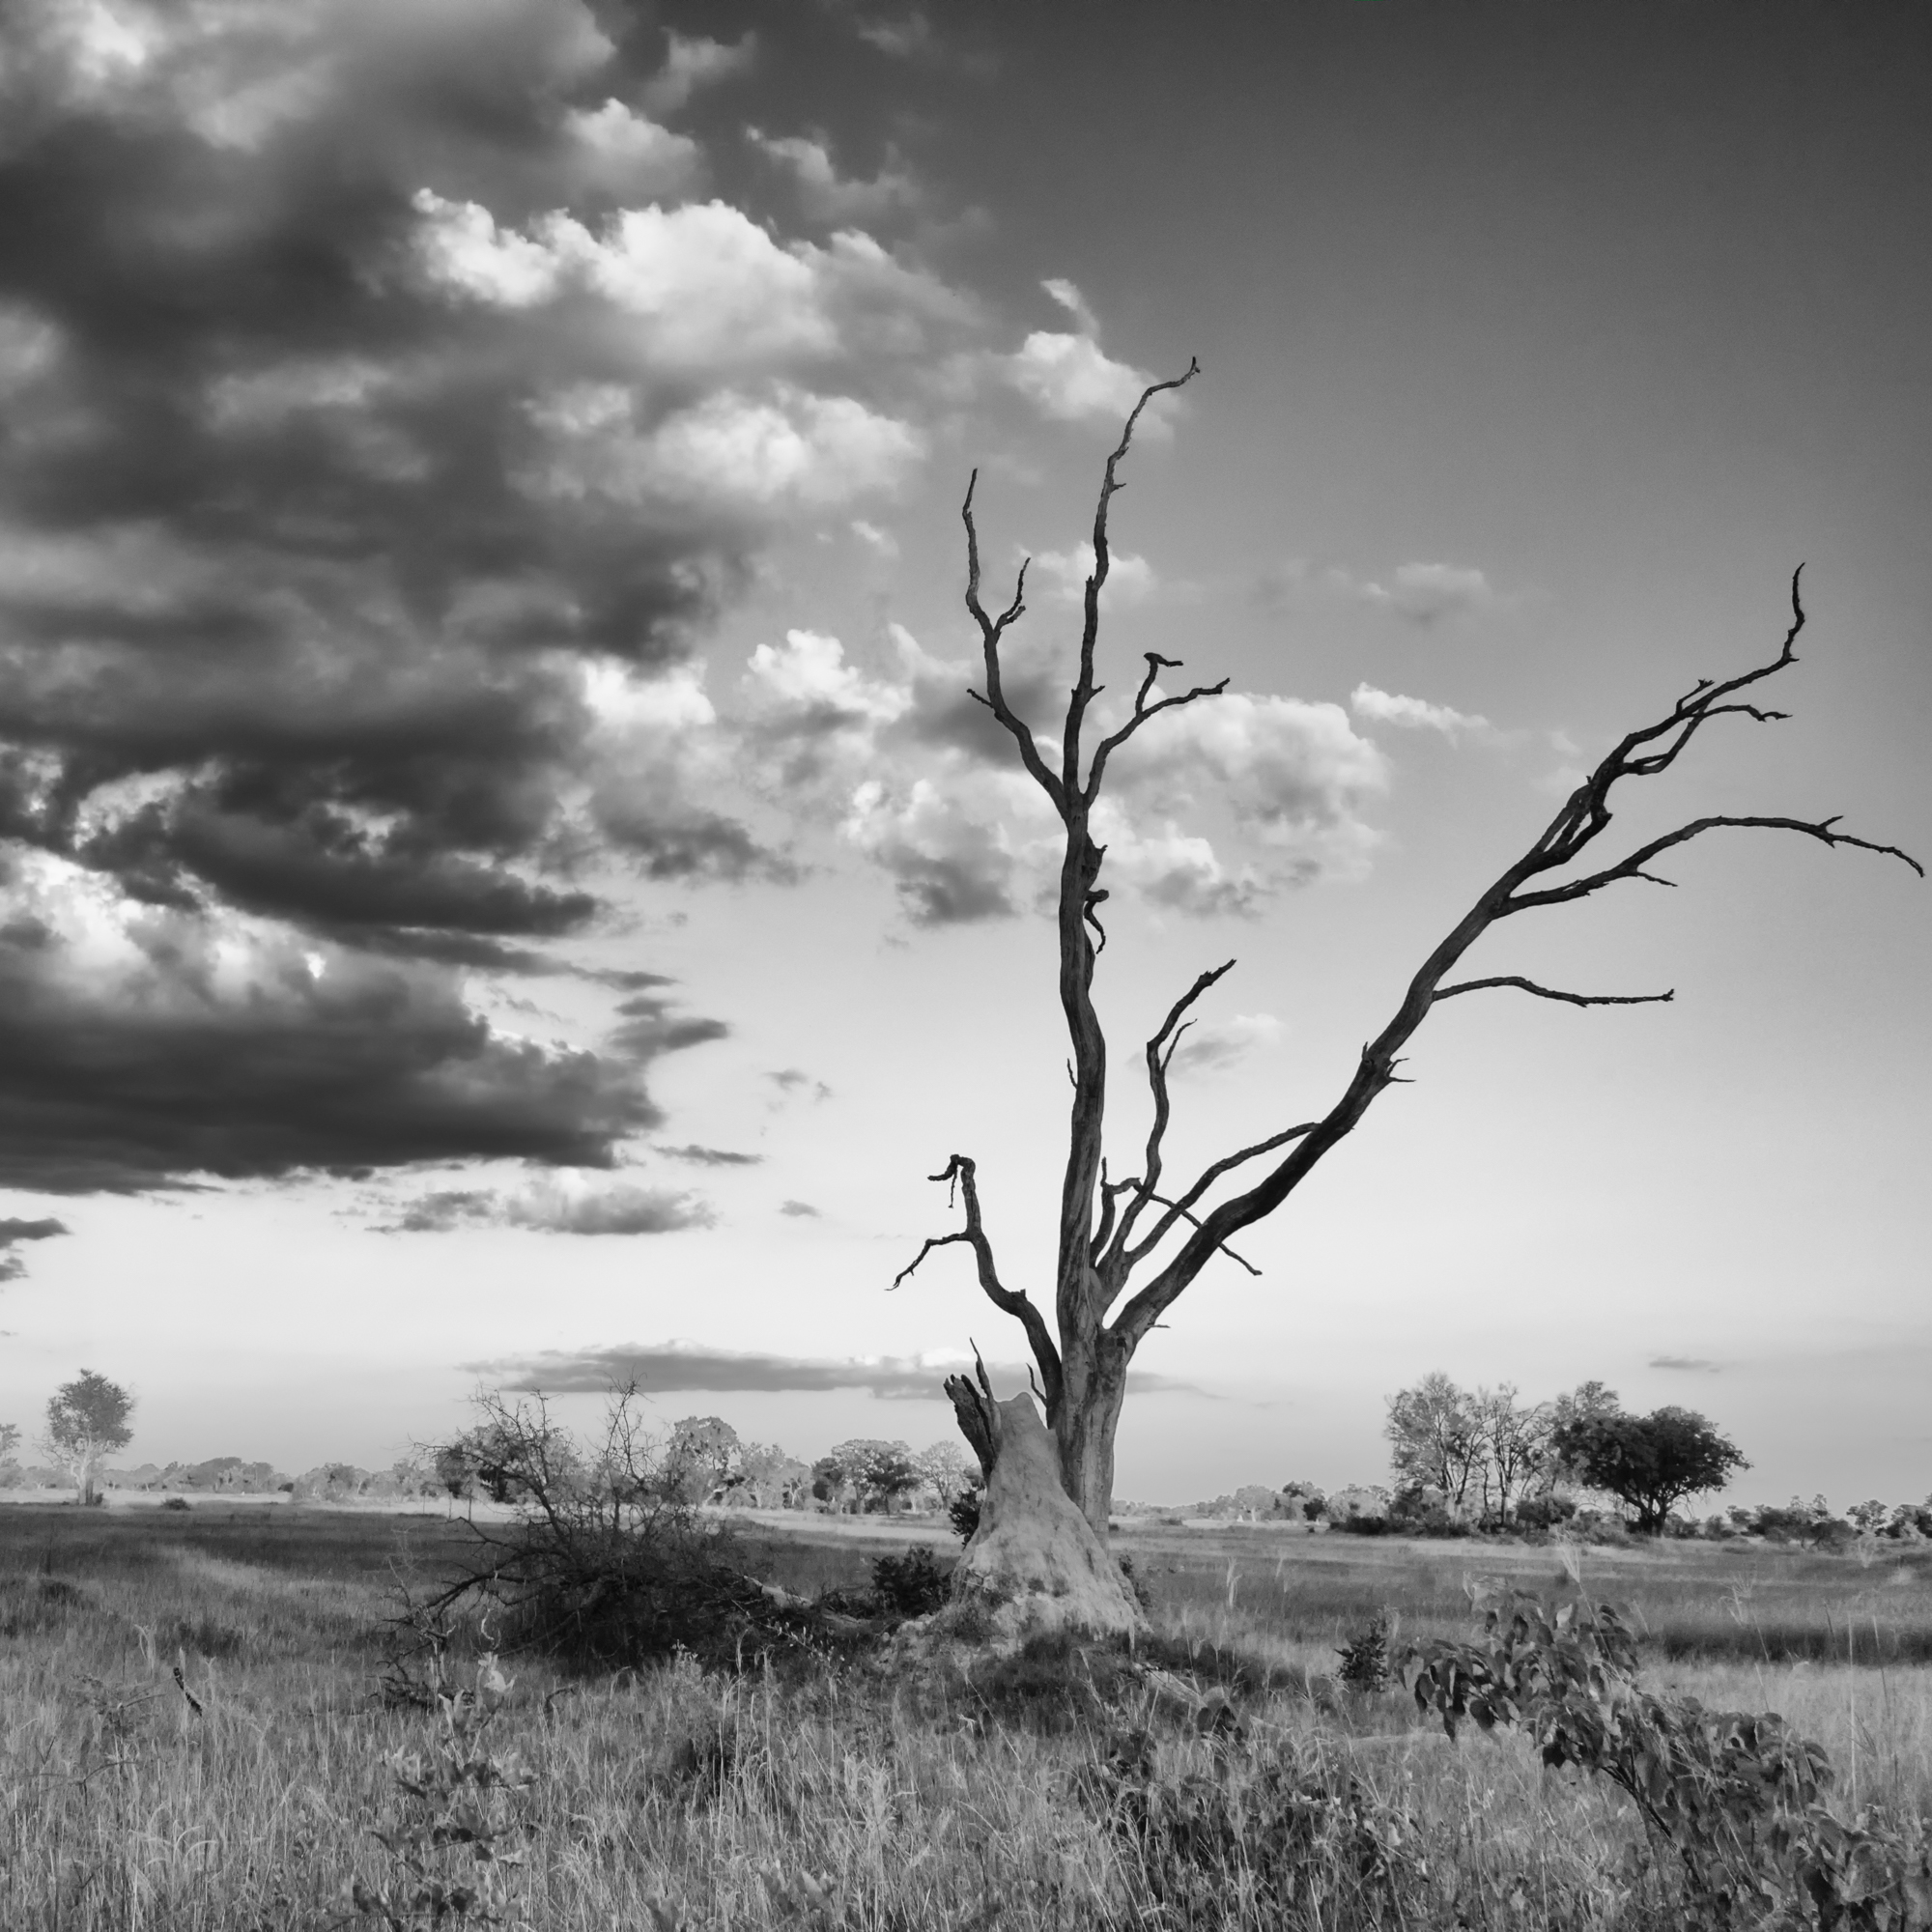
With this next image, the difference in colour rendering was far less between On1 and Topaz Studio, so as with all photo editing, images do need to be looked at on a case by case basis. The landscape image below was shot with my Panasonic FZ1000.


In contrast to the lion image, the raw file in Topaz Studio looks better to me than through On1, a little bit brighter and with a bit more detail.

Here is an image from this summer, shot with my Fuji XT-2. I sure miss sitting outside watching the hummingbirds zip around the yard.


The difference in rendering on the Fuji files is far less dramatic. The one out of Topaz looks flatter, but that’s what the editing process is for.
Here is the edited image:

After doing a few of these image comparisons, I am finding that there is a consistent, dramatic difference in the way On1 and Topaz render files from my old Nikon camera, with the files being significantly more “true to life” in the On1 rendering. Since I don’t have the Nikon anymore, this isn’t an issue that will plague me beyond finishing up the backlog of images I have that I would like to edit, so I can make smart choices about what software to use when. The differences between the raw rendering with files from my Panasonic or Fuji cameras is not so dramatic, and if I am using Topaz Studio, I have a better starting point with files from those cameras than I do with the Nikon files.
Great discussion. Thanks. I’m always puzzled by the range of results I get in raw file conversions and find myself constantly trying to work the image back to what I saw.
It can definitely be tricky. I hadn’t thought about it too much until I started researching prior to buying my Fuji camera, and then exploring it after moving away from the standard Lightroom processing workflow. The more I learn, the more I realize I need to learn a lot more!
LIKE