It’s quite nice not having a theme this month, as I can select whatever images catch my attention. Today, it is a selection of images shot at or near sunset.
Wishing everyone a wonderful week ahead.


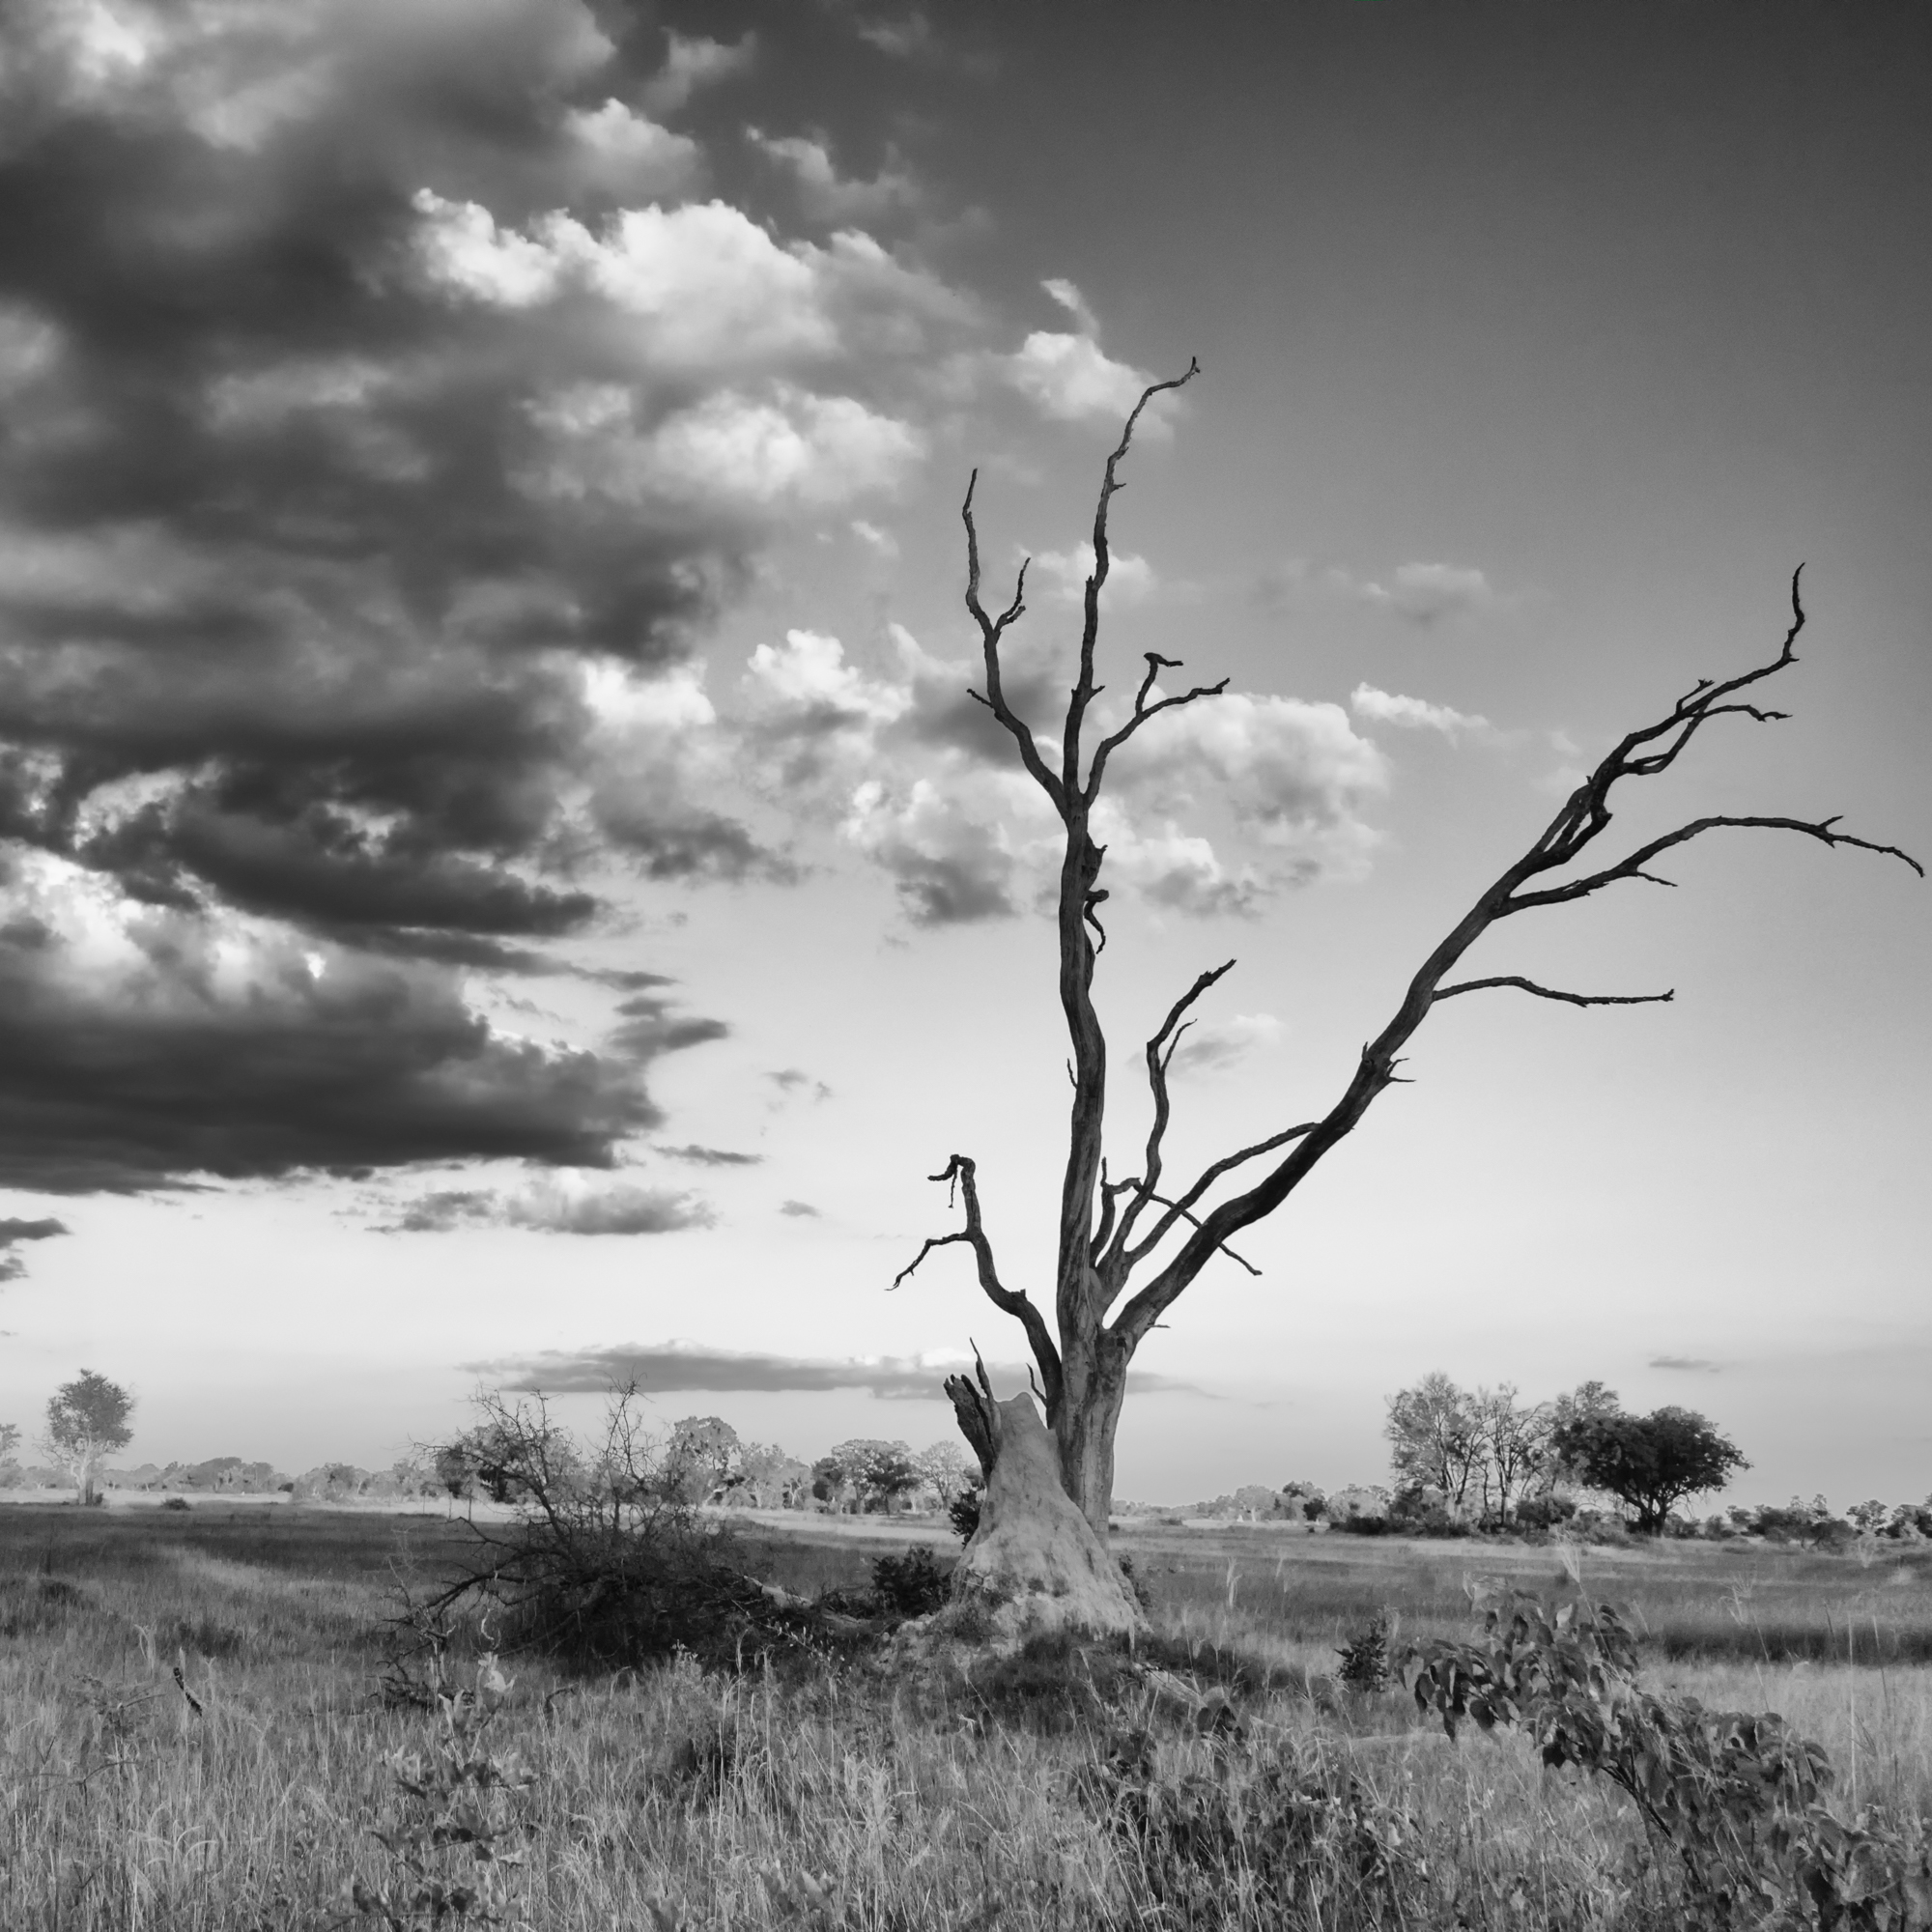
Showcasing the beauty of Mother Nature

It’s quite nice not having a theme this month, as I can select whatever images catch my attention. Today, it is a selection of images shot at or near sunset.
Wishing everyone a wonderful week ahead.


I’m keeping fingers crossed that I’ll have the opportunity to see lots of big cats while of safari next month. Here are a few images from my previous travels to start the week.
Wishing everyone a fantastic week ahead!


A random selection of bird images this week!


No jokes, funny business or shenanigans here. Just a trio of zebra images for the 1st monochrome Monday of April.
Wishing everyone a fantastic week ahead!


Racing into another week – I hope it’s a good one!

I have not photographed a single sign of spring this week, though I have been enjoying them immensely. I guess in some ways the topic, photographically at least, has been a fail, but it has been making me more aware, and more appreciative of the little signs that spring is on its way.
Today in fact, it really felt as if spring has arrived. Despite the lawn still being covered in snow, it was warm enough to sit on my front porch with an iced coffee and my knitting, and enjoy the warmth of the sun for awhile. Today, that felt a lot more important than rushing around trying to find an image that symbolized the change of seasons.
Instead, here is an image I just finished working on; a 3 shot panorama taken at Phinda Reserve, May 2017. Everyone knows elephants are my favourite, and they are a great stand-in whenever I need an image. This was another moment where sitting and allowing life to unfold was just perfect. Our guide knew the ellies would be heading for the dam, so we drove to it, and just waited. And they arrived shortly after, in groups of 2 and 3, until we had the scene here unfold. And then just as quietly, they all headed back into the bush, to carry on with the day.
Wishing everyone a fantastic week ahead.
