


Showcasing the beauty of Mother Nature


Here we are at Monday again. I felt like editing some elephant images recently, so that is what I have decided to share today. Elephants, with their amazingly textured skin, look fantastic in monochrome images (at least I think so!)
I hope you enjoy my selections. Have a great week!


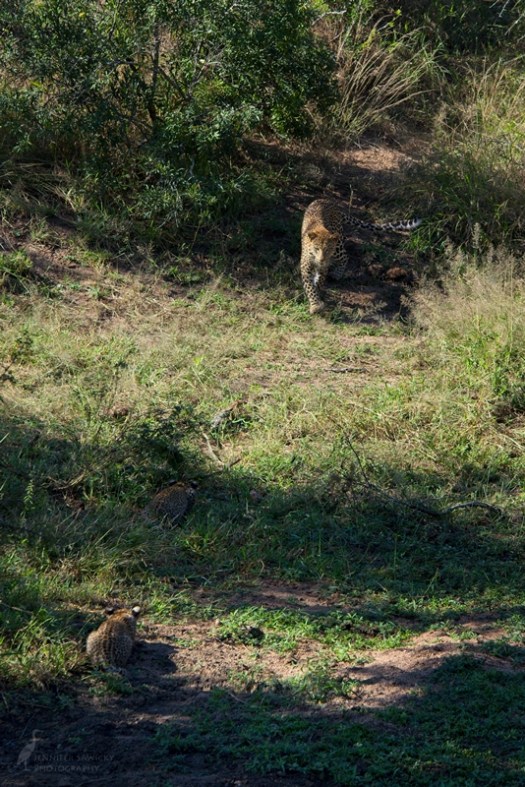
While this leopard sighting was almost two years ago, it feels both like a lifetime ago, and also like it was yesterday. I find it interesting how the same experience can occupy those different spaces, seemingly at the same time.
This was the second to last day of my last safari, and the photos don’t need too much commentary. Our ranger took us to a leopard and her two cubs that were deep in a ravine, and while we perched, parked on the side of a rather steep slope, the cubs went about their day, playing, chasing, exploring and occasionally, snuggling up with their Mom.
I hope you enjoy my selections for today. Wishing everyone a fantastic week ahead.


A random selection of bird images this week!


No jokes, funny business or shenanigans here. Just a trio of zebra images for the 1st monochrome Monday of April.
Wishing everyone a fantastic week ahead!


Racing into another week – I hope it’s a good one!

I have not photographed a single sign of spring this week, though I have been enjoying them immensely. I guess in some ways the topic, photographically at least, has been a fail, but it has been making me more aware, and more appreciative of the little signs that spring is on its way.
Today in fact, it really felt as if spring has arrived. Despite the lawn still being covered in snow, it was warm enough to sit on my front porch with an iced coffee and my knitting, and enjoy the warmth of the sun for awhile. Today, that felt a lot more important than rushing around trying to find an image that symbolized the change of seasons.
Instead, here is an image I just finished working on; a 3 shot panorama taken at Phinda Reserve, May 2017. Everyone knows elephants are my favourite, and they are a great stand-in whenever I need an image. This was another moment where sitting and allowing life to unfold was just perfect. Our guide knew the ellies would be heading for the dam, so we drove to it, and just waited. And they arrived shortly after, in groups of 2 and 3, until we had the scene here unfold. And then just as quietly, they all headed back into the bush, to carry on with the day.
Wishing everyone a fantastic week ahead.
